To ensure a flawless and quick installation of your Anker dust-proof screen protector, follow these detailed steps and refer to the accompanying tutorial video for visual guidance.
Please refer to the below installation video for a step-by-step visual guide:
Step 1: Clean the Screen
Begin by thoroughly wiping your iPhone’s screen to remove any fingerprints or smudges. Ensure all moisture is dried off and use a dust removal tool to eliminate any dust particles from the screen.
Step 2: Prepare Your iPhone
Place your iPhone face-down on the dust-free compartment. This is crucial for ensuring the correct alignment of the screen protector.
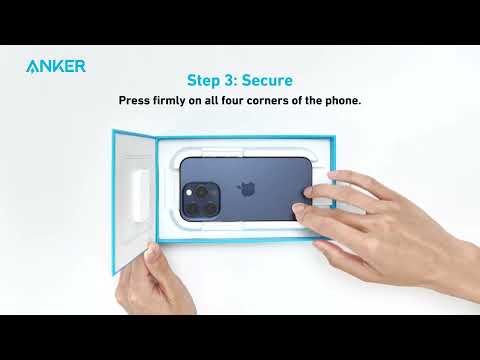
Step 3: Apply Pressure to Corners
Apply firm pressure to all four corners of your phone. This step ensures that the screen protector begins to adhere properly to the phone's surface.
Step 4: Seal the Protector
Gently press your palm down on the center and slowly close the protector's lid onto the screen. This helps in evenly spreading the adhesive across the screen.
Step 5: Finalize the Installation
Carefully remove the pull tab, wait for about 3 to 5 seconds to let the adhesive set, then gently lift your phone from the surface. Finally, press along the edges of the screen to ensure the screen protector is fully secured and there are no air bubbles.
If you have any questions, please do not hesitate to contact Anker Customer Support for further assistance.