USB-A port supports Power IQ1.0; USB-C1/2/3 port supports Power IQ3.0
Retractable Cable Interface: USB-C1&C3 port a. Supports PPS with a range of 5V-11V 5A Max b. Compatible with multiple fast charging protocols including FCP, SCP, AFC, QC3.0, PD3.0, PPS, DCP, and Apple 2.4A
USB-C2 Port: a. Supports PPS at 5V-11V & 5V-16V 5A Max b. Supports FCP, SCP, AFC, QC3.0, PD3.0, PPS, DCP, and Apple 2.4A
USB-A Port: Supports Apple 2.4, BC 1.2
Output:
All Ports: 3*AC + 3*USB-C(Retractable Cable Interface: USB-C1&C3) + 1*USB-A - USB ports: Total 100W Max, USB-A 12W Max - US/Japanese Standard AC Output Power: 1000W (DC 2.0A)
Power Distribution for Single-Port/Multi-Port USB: 1-port: USB-C1/C2/C3: 100W Max; USB-A: 12W Max 2-ports: USB-C1 + USB-C2 / C3: 67W Max + 33W Max or 50W Max + 50W Max USB-C2 + USB-C3: 67W Max + 33W Max or 50W Max + 50W Max USB-C1 / C2 / C3 + USB-A: 88W Max + 12W Max (12W for USB-A port) 3-ports: USB-C1 + USB-C2 + USB-C3: 34W Max + 33W Max + 33W Max or 46W Max + 27W Max + 27W Max USB-C1 + USB-C2 / C3 + USB-A: 55W Max + 33W Max + 12W Max or 45W Max + 43W Max + 12W Max (12W for USB-A port) USB-C2 + USB-C3 + USB-A: 33W Max + 55W Max + 12W Max or 43W Max + 45W Max + 12W Max (12W for USB-A port) 4-ports: USB-C1 + USB-C2 + USB-C3 + USB-A: 30W Max + 28W Max + 30W Max + 12W Max (12W for USB-A port)
Input:
US Standard:AC 125V~10A Japanese Standard:AC 100-125V~11A USB wide voltage 100~240V
Surge Protection:
300J and AC Cable Length: 5ft
Current Screen On/Off Logic:
We have optimized the logic for the screen-on/screen-off function. The specific logic is as follows:
Screen On Logic: a. The screen wakes up or turns on with a short press of the button.
Screen Off Logic: a. The screen automatically turns off after 1 minute of inactivity by default. The timeout duration can be customized via the screen timeout settings.(including 30s, 1min, 5min, 3h) Please press the button twice to switch to a new mode, and wait for the blue part to blink three times. Once the blinking stops, the new mode will be activated. b. The screen turns off immediately when the button is long-pressed.
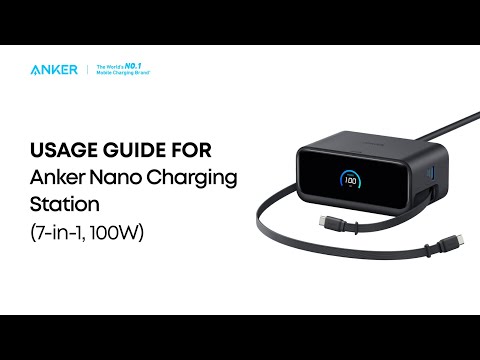
Anker Nano Charging Station (7-in-1, 100W) User Guide (A91C8)
Video Tutorial
Anker Nano Charging Station (Quick Start Guide Video)